BrandingCreativeWeb Design & Development
How to Easily Design Social Media Images

Do you create your own social media images? Looking for easy-to-use graphics tools to design professional-looking visuals?
In this article, you’ll discover four free tools to create images for your marketing.
1: Preview Text Styles With One Touch via Adobe Spark
Adobe Spark is part of Adobe’s suite of creative products, bringing social media image and video creation to the web. It’s one of the easiest online image editors to use and offers many design templates to choose from.
Here’s how to use Adobe Spark to make social media images for any of your social media accounts:
First, navigate to the Adobe Spark website and sign in with your Adobe ID. A Creative Cloud license isn’t required to use Spark, but you do get some extra features if you have a subscription. Namely, you can remove the Adobe Spark watermark with a paid Adobe Spark plan or Creative Cloud subscription, both starting at $9.99 a month.
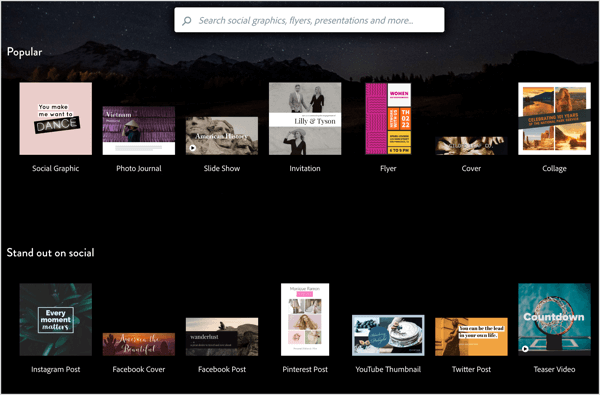
Once you’re logged in, you’ll see a variety of templates to choose from. All of the popular social templates are displayed on the home screen, or you can use the search bar to find even more types of templates. Once you find one you want to use, select it.
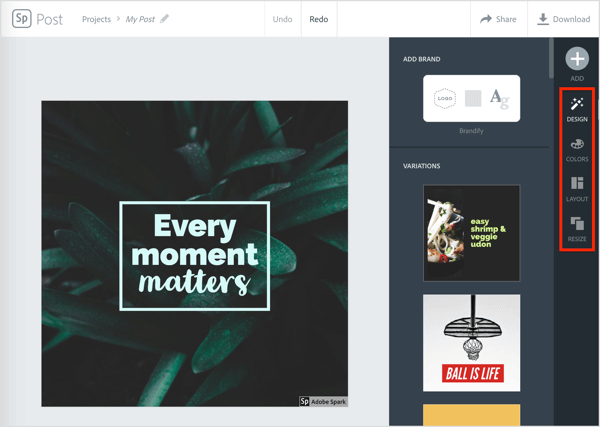
After you make your selection, the Adobe Spark editor opens with your chosen template. Most templates have pre-made images and text boxes. You can resize the design elements and drag them around the canvas to reposition them.
You’ll see four tabs on the right of the screen:
- The Design tab lets you pick a different pre-made theme for your template.
- Click the Colors tab to select a different colour scheme.
- Open the Layout tab to choose a different image layout.
- Click the Resize tab to resize your image.
To edit the text in the template, double-click the text box and start typing. You can change fonts and other text options on the Type tab.
To change colours, click the Color tab and select one of the pre-made colour templates. Note that this will also change the colour of the shape connected to your text.
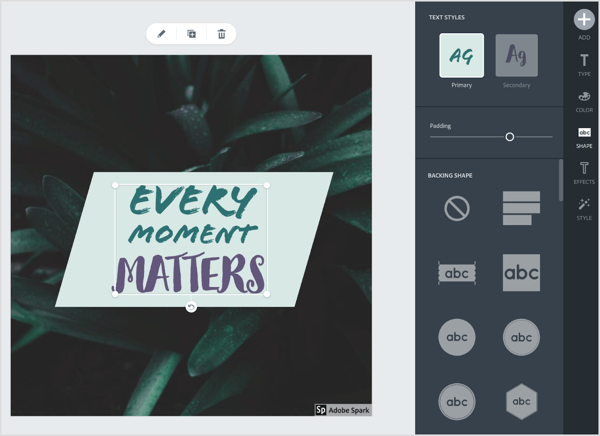
Speaking of shapes, you’ve probably noticed that your text is connected to a box, circle, or another shape. This is located behind the text, pulling the image together and frankly, making it look pretty cool. Click the Shape tab on the right side of the screen and select whichever shape you’d like to use with your text. It will be automatically applied to your image.
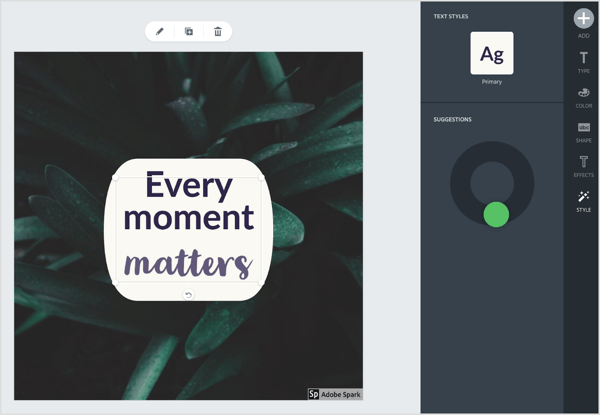
Alternatively, you can use Spark’s built-in suggestion tool to change your font and shape. Click the Style tab on the right side of the screen and drag the green circle in the wheel to cycle through different text styles.
Changing the template’s background is easy too; just double-click on it. Then you’ll be prompted to upload a new image and apply an Instagram-style filter to the background. Note that this will replace the current background.
When your masterpiece is ready to share, click the Share button at the top of the screen. From here, you can share to Twitter or Facebook, or via email. To download the image, just click the Download button to the right.
#2: Design Basic Social Media Images Quickly With Pablo
Pablo by Buffer is a no-frills online image editor that lets you make basic social media images in seconds. So while it doesn’t have some of the features of other image editors on this list, it works in a pinch. This tool is free to use without registration, making it perfect for when you or your team needs to create a quick image.
All of Pablo’s editing options are available on the app’s homepage. There are no menus or other hoops to jump through; just navigate to the site and start editing. Here’s how to use Pablo to make basic social media images:
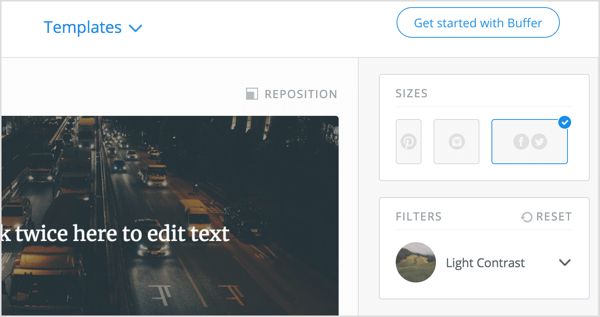
First, look at the upper-right corner of the screen and choose which social network you’re designing this image for. Currently, Pablo has presets for Pinterest, Instagram, Facebook, and Twitter, which will ensure your image is sized correctly.
Next, scroll through the list of images on the left to find one you’d like to edit. You can search through Pablo’s huge library of royalty-free images, or click the Upload Image button at the bottom of the screen to upload a custom image.

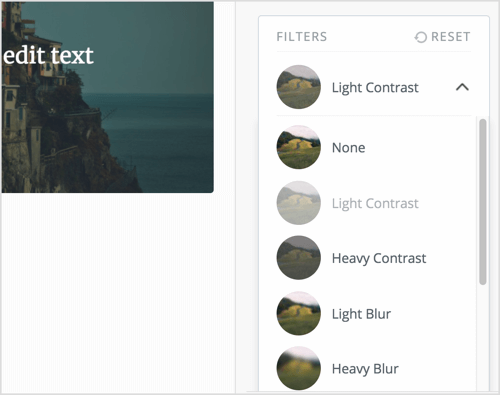
You can add filters to your images, too. In the Filters box on the right side of the screen, select the filter you want to use. There are quite a few to choose from, and all have a look similar to Instagram’s filters.
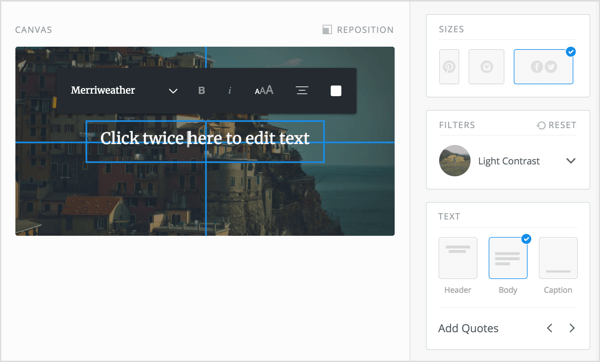
After you select an image, it appears in the center of the screen with a pre-made text box. Double-click on the text box to edit the text inside it. Additionally, you can drag the text box on the screen to reposition it. Add more text elements using the options in the Text box on the right side of the screen.
Finally, click the Logo box in the bottom-right corner of the screen to upload your company’s logo. You can drag your logo around the screen to reposition it. This makes it easy to brand your social media images using your brand’s logo.
![]()
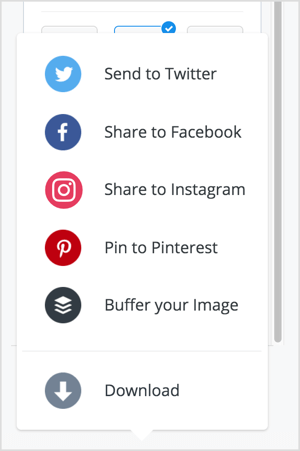
Once your image is ready to share, click the Share & Download button in the bottom-right corner of the screen. From here, you can share your masterpiece to Twitter, Facebook, Instagram, or Pinterest. Alternatively, you can download the image to your computer.
#3: Design Automatically Resizable Social Media Images With Snappa
Snappa is a user-friendly online image maker that has templates for every social media network. In addition to social post templates, it offers banner, story, and infographic templates. This makes Snappa your one-stop shop for creating all sorts of social media content.
In this example, you’ll use Snappa to create an Instagram story image from a template, but the process is the same for the other social media image sizes.
To start, create a free account or log in. Snappa also offers a Pro account ($15/month, billed monthly) that includes unlimited downloads and custom fonts, but the free account is a good place to start.
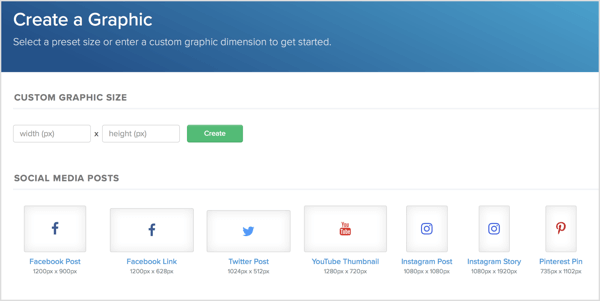
After you log in, you see a list of preset sizes for social media posts, blogging and infographics, social media ads, and other options. Select Instagram Story for this example.
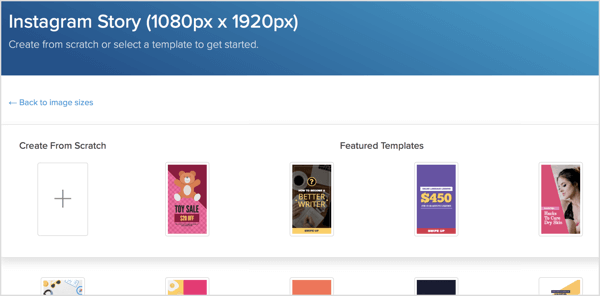
Next, you see a list of pre-made Story templates you can customize for your design. Click on the template you want to use. Alternatively, click the + button to create a story from scratch.
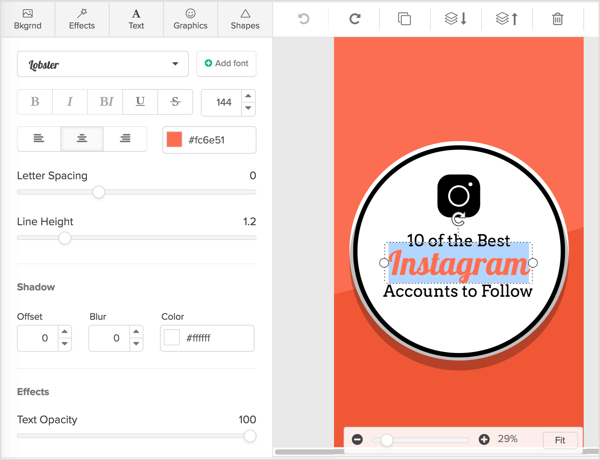
After you make your selection, the template opens in the Snappa editor. Snappa has a ton of advanced editing features, similar to some of the features you’d find in Photoshop or another advanced image editing suite.
Now customize the template to your liking. Double-click on any text elements to add or change text. Use the text options on the left-hand side of the screen to change the font size, color, or type.
You can add images, shapes, and other design elements to your social media images. In the upper-left corner of the screen, click the Graphics tab to see a list of vectors and custom images to choose from or to upload your own image.
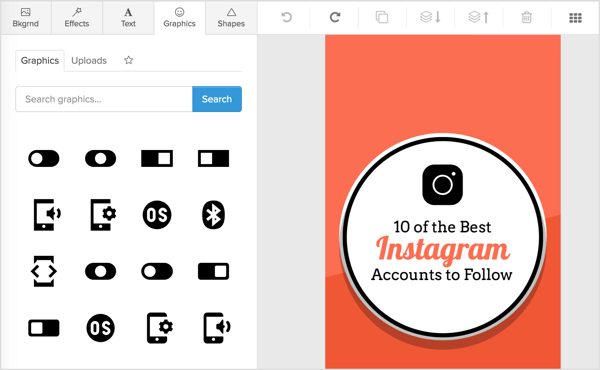
Similarly, click the Shapes tab to see a library of shapes you can add to your design. Click to select a design element and add it to the canvas. Drag to reposition it on your design.
To resize any design elements, click to select the element and use the knobs that appear on it.
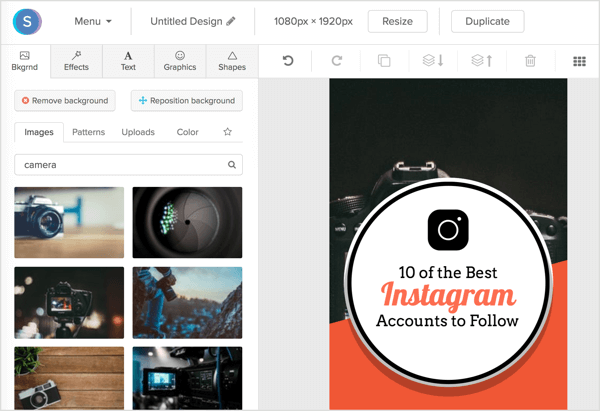
Note that you can also add background images to your Snappa designs. Click the Background tab to see an array of options. You can search through Snappa’s royalty-free image library or upload your own background by clicking the Uploads button.
To rearrange your background image, click the Reposition Background button at the top of the Background tab. You can then rearrange the background image to your liking.
You can also apply effects to your background image on the Effects tab. Here, you can add color overlays, darkening, and more.
Once you’ve decked out your image with visual elements and are ready to export it, you have two options: download your design or share it directly to social media. Click the Download button at the upper right-hand corner of the screen and select the format that works best for you.
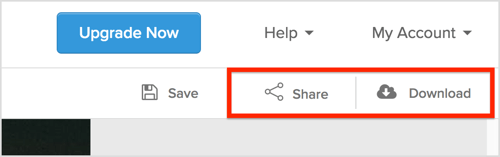
You can also share directly to social media by clicking the Share button that’s located to the right of the Download button. At this time, you can share directly to Twitter or Facebook from the app.
And that’s it! You’ve created and shared your image to social media in Snappa. It’s as easy as that.
#4: Add Simple Data Visualization Charts to Social Media Images in Canva
Canva is a free online image editor with a huge library of free templates and royalty-free images. The app has built-in templates for all of the major social networks, and you can even post directly to your social media accounts from the app.
Creating an image from one of Canva’s templates is simple. After you log in, click the More button in the upper-right corner of the screen.
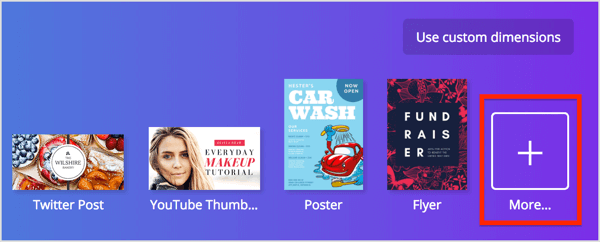
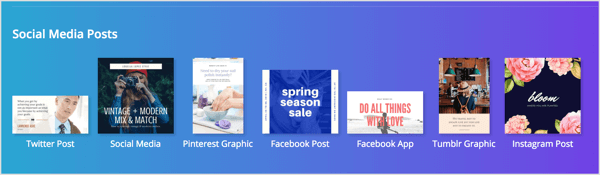
Canva’s full list of templates will appear. Look in the Social Media Posts section and select the template that best fits your needs. For this example, select the Instagram Post option to create an image for Instagram.
After you select the template, a new document is created.
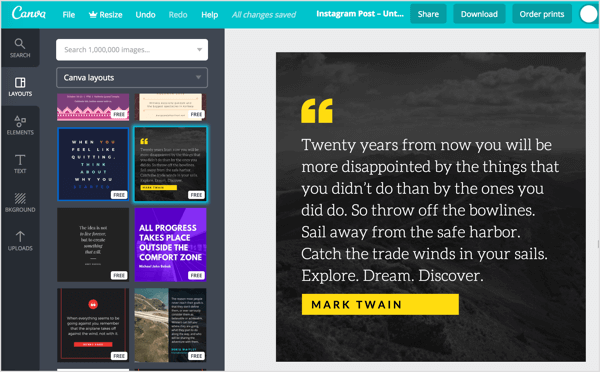
Click the Layouts tab on the left-hand side of the window and you’ll be presented with a list of post layouts to choose from. All of these layouts are fitted for your post size.
Search through the list and click the layout you want to use; it will be imported to the editor, ready for you to customize.
Note that not all of the templates are included with the Canva free plan. You can upgrade to Canva Pro for $12.95 per user/month, billed monthly, or stick with the free plan if you’re happy with the limited amount of free templates.
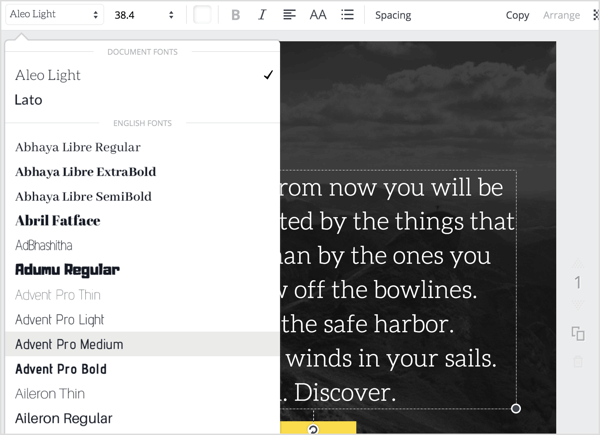
Editing a Canva template is easy. Just double-click on the text boxes to edit the text. You can change the fonts, too. Just click the font pop-up menu at the top of the editor and select a different font. You can also edit the point size, spacing, colour, and more.
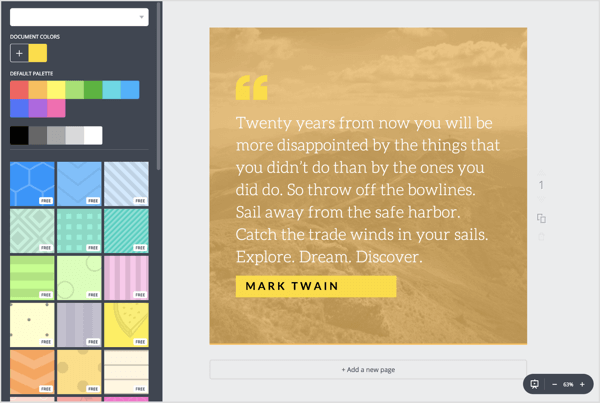
If you want to edit the background of your design, click the Background tab on the left-hand side of the window. In the background window, you can choose background textures, colors, and even search through Canva’s library of royalty-free images. Click on the image or texture you want to use, and it will be automatically applied to the image.
Speaking of images, you can add other design elements to your Canva masterpiece. You can use your own images or pick one from Canva’s large selection of royalty-free images.
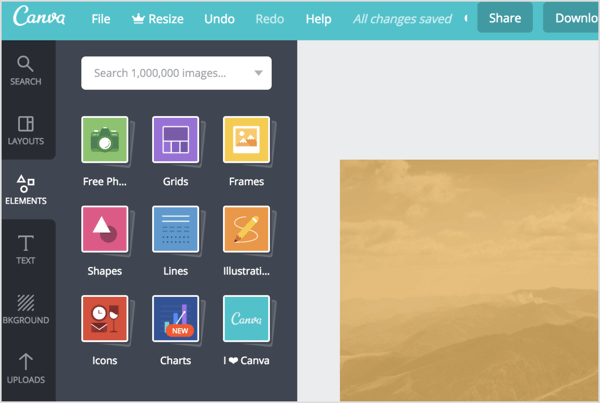
To do this, click the Elements tab on the left-hand side of the screen. You’ll then be presented with a list of different design elements to choose from, including:
- Free Photos: add an image from Canva’s library of free images
- Grids: make image grids on your social media post
- Frames: add frames to your image
- Shapes: drag and drop vector shapes to your image
- Lines: add stylized lines to your image
- Illustrations: add free vector images to your image
- Icons: add free icons to your image
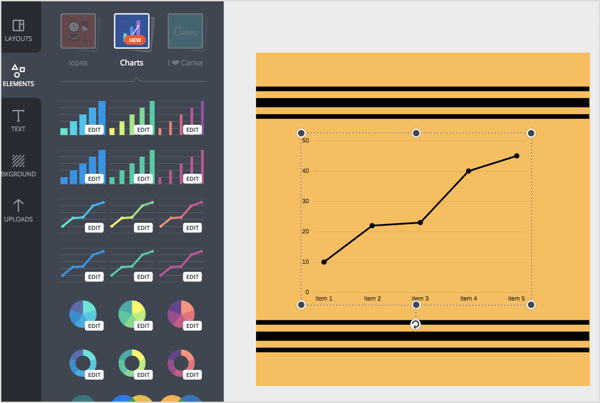
- Charts: visualize basic data on your image
- I <3 Canva: choose from free Canva images to show your support for Canva
Select the element you want to add, and drag and drop it to the canvas. Once it’s in, you can resize the element by dragging on the sides. You can add as many elements as you’d like, so make something awesome!
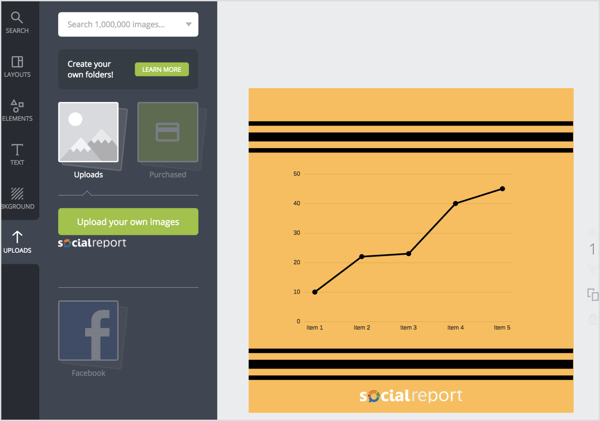
Finally, you can add your own images or vectors to the canvas. Open the Uploads tab and click the green Upload Your Own Images button. Select your file, and then drag and drop it to the canvas. All of the placement and resizing options are the same as above.
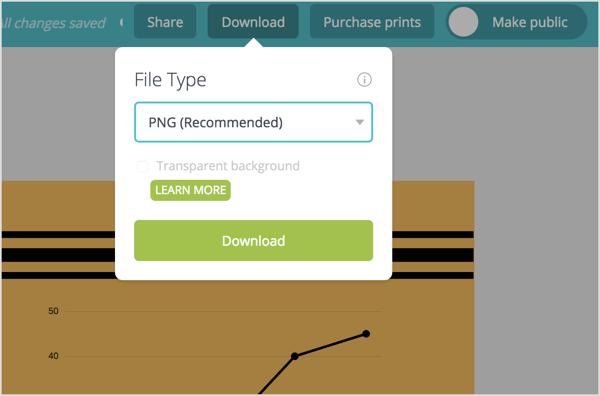
When you’re done creating your image, you can export it. Click the Download button at the top of the screen and select the file type you need. You also have the option to choose a transparent background. Transparent backgrounds work only with PNG images that have no background image set. Click the green Download button when you’re ready.
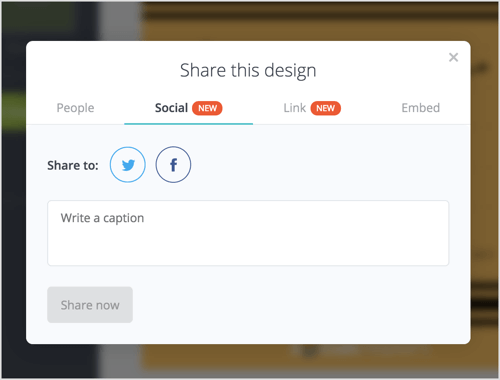
You also can publish your image directly to Facebook or Twitter right from Canva. To do this, click the Share button at the top of the screen and click the Social tab in the pop-up box. From here, you can type your accompanying message and select the social network to share it to(Twitter or Facebook). Click Share Now when you’re ready to share.
And that’s all there is to it. You’ve successfully customized one of Canva’s templates and shared your design to Facebook and Twitter. Sharing to other networks requires you to download the image and post it manually, or use your favourite social media management app.